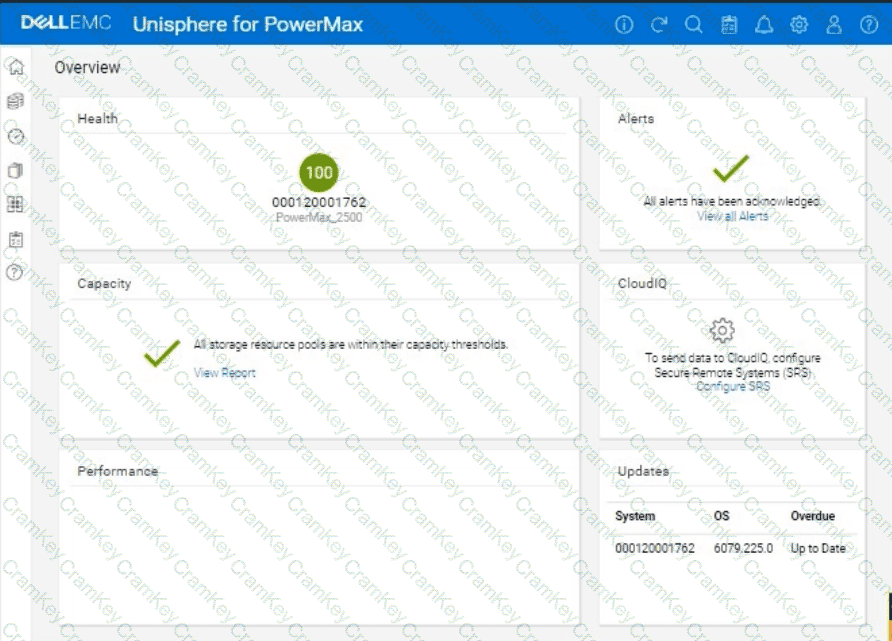
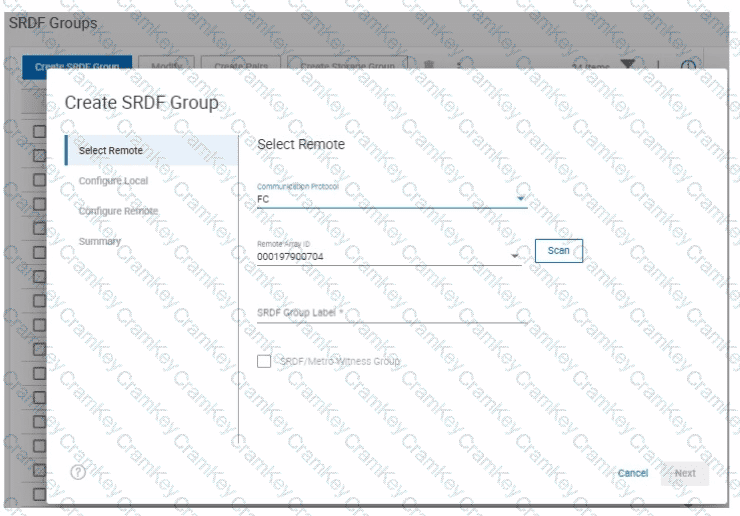
We need to create a secure snapshot named "Stor1" from the storage group "StorGroup1" in the Unisphere for PowerMax simulator, and the snapshot should be protected from deletion for two days.
Here's a step-by-step guide on how to do this, based on typical Unisphere functionality:
Steps:
1. Launch the Simulator and Navigate to the Storage Groups Section
Open Unisphere for PowerMax in your web browser.
Log in to the simulator (you should already be logged in with the array SID 1762 selected).
In the left-hand navigation pane, click onStorageand then selectStorage Groups.
2. Locate and Select "StorGroup1"
In the Storage Groups view, you'll see a list of all storage groups on the array.
Find the storage group named "StorGroup1".
Click on the name "StorGroup1" to open its details view.
3. Initiate the Snapshot Creation Process
Within the "StorGroup1" details view, look for an option related to creating snapshots or protecting the storage group. This might be a button labeled:
Click the appropriate button or icon to start the snapshot creation process.
4. Configure Snapshot Settings
A new window or panel will appear, allowing you to configure the snapshot settings.
Snapshot Name:Enter Stor1 as the snapshot name.
Snapshot Technology:SelectSnapVX(or a similar option) as the snapshot technology.
Secure Snapshot:This is crucial. Look for an option labeled "Secure Snapshot," "Enable Secure Snap," "Secure Snap," or something similar.Check this option.
Retention/Expiration:You need to set the retention period for the secure snapshot. This will define how long the snapshot cannot be deleted. There are usually a few ways to configure this:
Expiration Time:Set an explicit expiration date and time that is two days from now.
Retention Period:Specify a retention period of 2 days.
No Expiry:This option is not what we want here. We want the snap to be secure for 2 days.
Choose the appropriate option to make the snapshot undeletable for two days.
Other Settings:Review any other available settings. You might be able to choose between creating a new snapshot or linking to an existing one. Select the option to create anew snapshot.
5. Create the Snapshot
After configuring all the snapshot settings, review them carefully to ensure they are correct.
Click the button to create the snapshot. This button might be labeled:
"Run Now"
"OK"
"Create"
"Finish"
6. Verify Snapshot Creation (Optional)
After the snapshot creation operation completes, you can verify that the snapshot was created successfully:
Go back to the "StorGroup1" details view.
Look for a tab or section related to snapshots (e.g., "Snapshots," "TimeFinder," "Local Replication").
You should see the "Stor1" snapshot listed there, and its status should indicate that it's a secure snapshot with the correct retention period (2 days).

