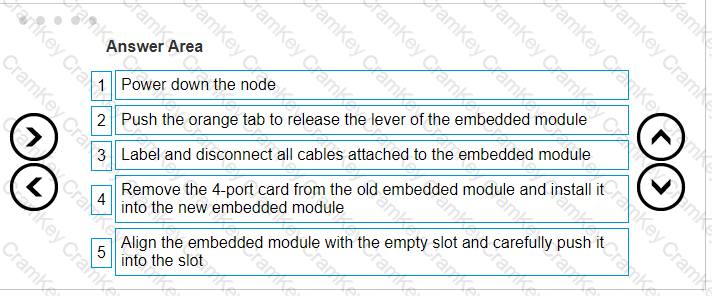
The correct order of steps for the embedded module replacement procedure is:
Power down the node
Push the orange tab to release the lever of the embedded module
Label and disconnect all cables attached to the embedded module
Remove the 4-port card from the old embedded module and install it into the new embedded module
Align the embedded module with the empty slot and carefully push it into the slot
The procedure for replacing an embedded module in a Dell PowerStore system is a critical task that should be performed with care. Here is a detailed explanation of each step:
Power down the node: Ensure that the node is properly powered down to avoid any electrical hazards or data corruption.This step is crucial for the safety of both the technician and the system1.
Push the orange tab to release the lever of the embedded module: Locate the orange tab on the embedded module and push it to release the lever.This action will unlock the module from its slot1.
Label and disconnect all cables attached to the embedded module: Before removing the embedded module, label all cables for easy reconnection later.Then, carefully disconnect each cable to free the module1.
Remove the 4-port card from the old embedded module and install it into the new embedded module: Transfer the 4-port card from the old module to the new one.Handle the card with care to avoid damage to the electronic components1.
Align the embedded module with the empty slot and carefully push it into the slot: Carefully align the new embedded module with the guides in the empty slot and gently push it into place until it is securely seated1.
After completing these steps, reconnect the cables as per the labels, and power up the node to verify the operation of the new embedded module.For detailed instructions and safety information, refer to the Dell PowerStore Installation and Service Guide2. It is important to follow these guidelines closely to ensure the replacement is performed correctly and the system operates smoothly after the procedure.